什么是 nginx
nginx 是一个高性能的 HTTP 和反向代理服务器,将客户端的请求转发到后端服务器,广泛应用于 Web 服务器、反向代理和负载均衡等领域
安装 nginx
1 | sudo apt install -y nginx |
启动 nginx
1 | 启动 |
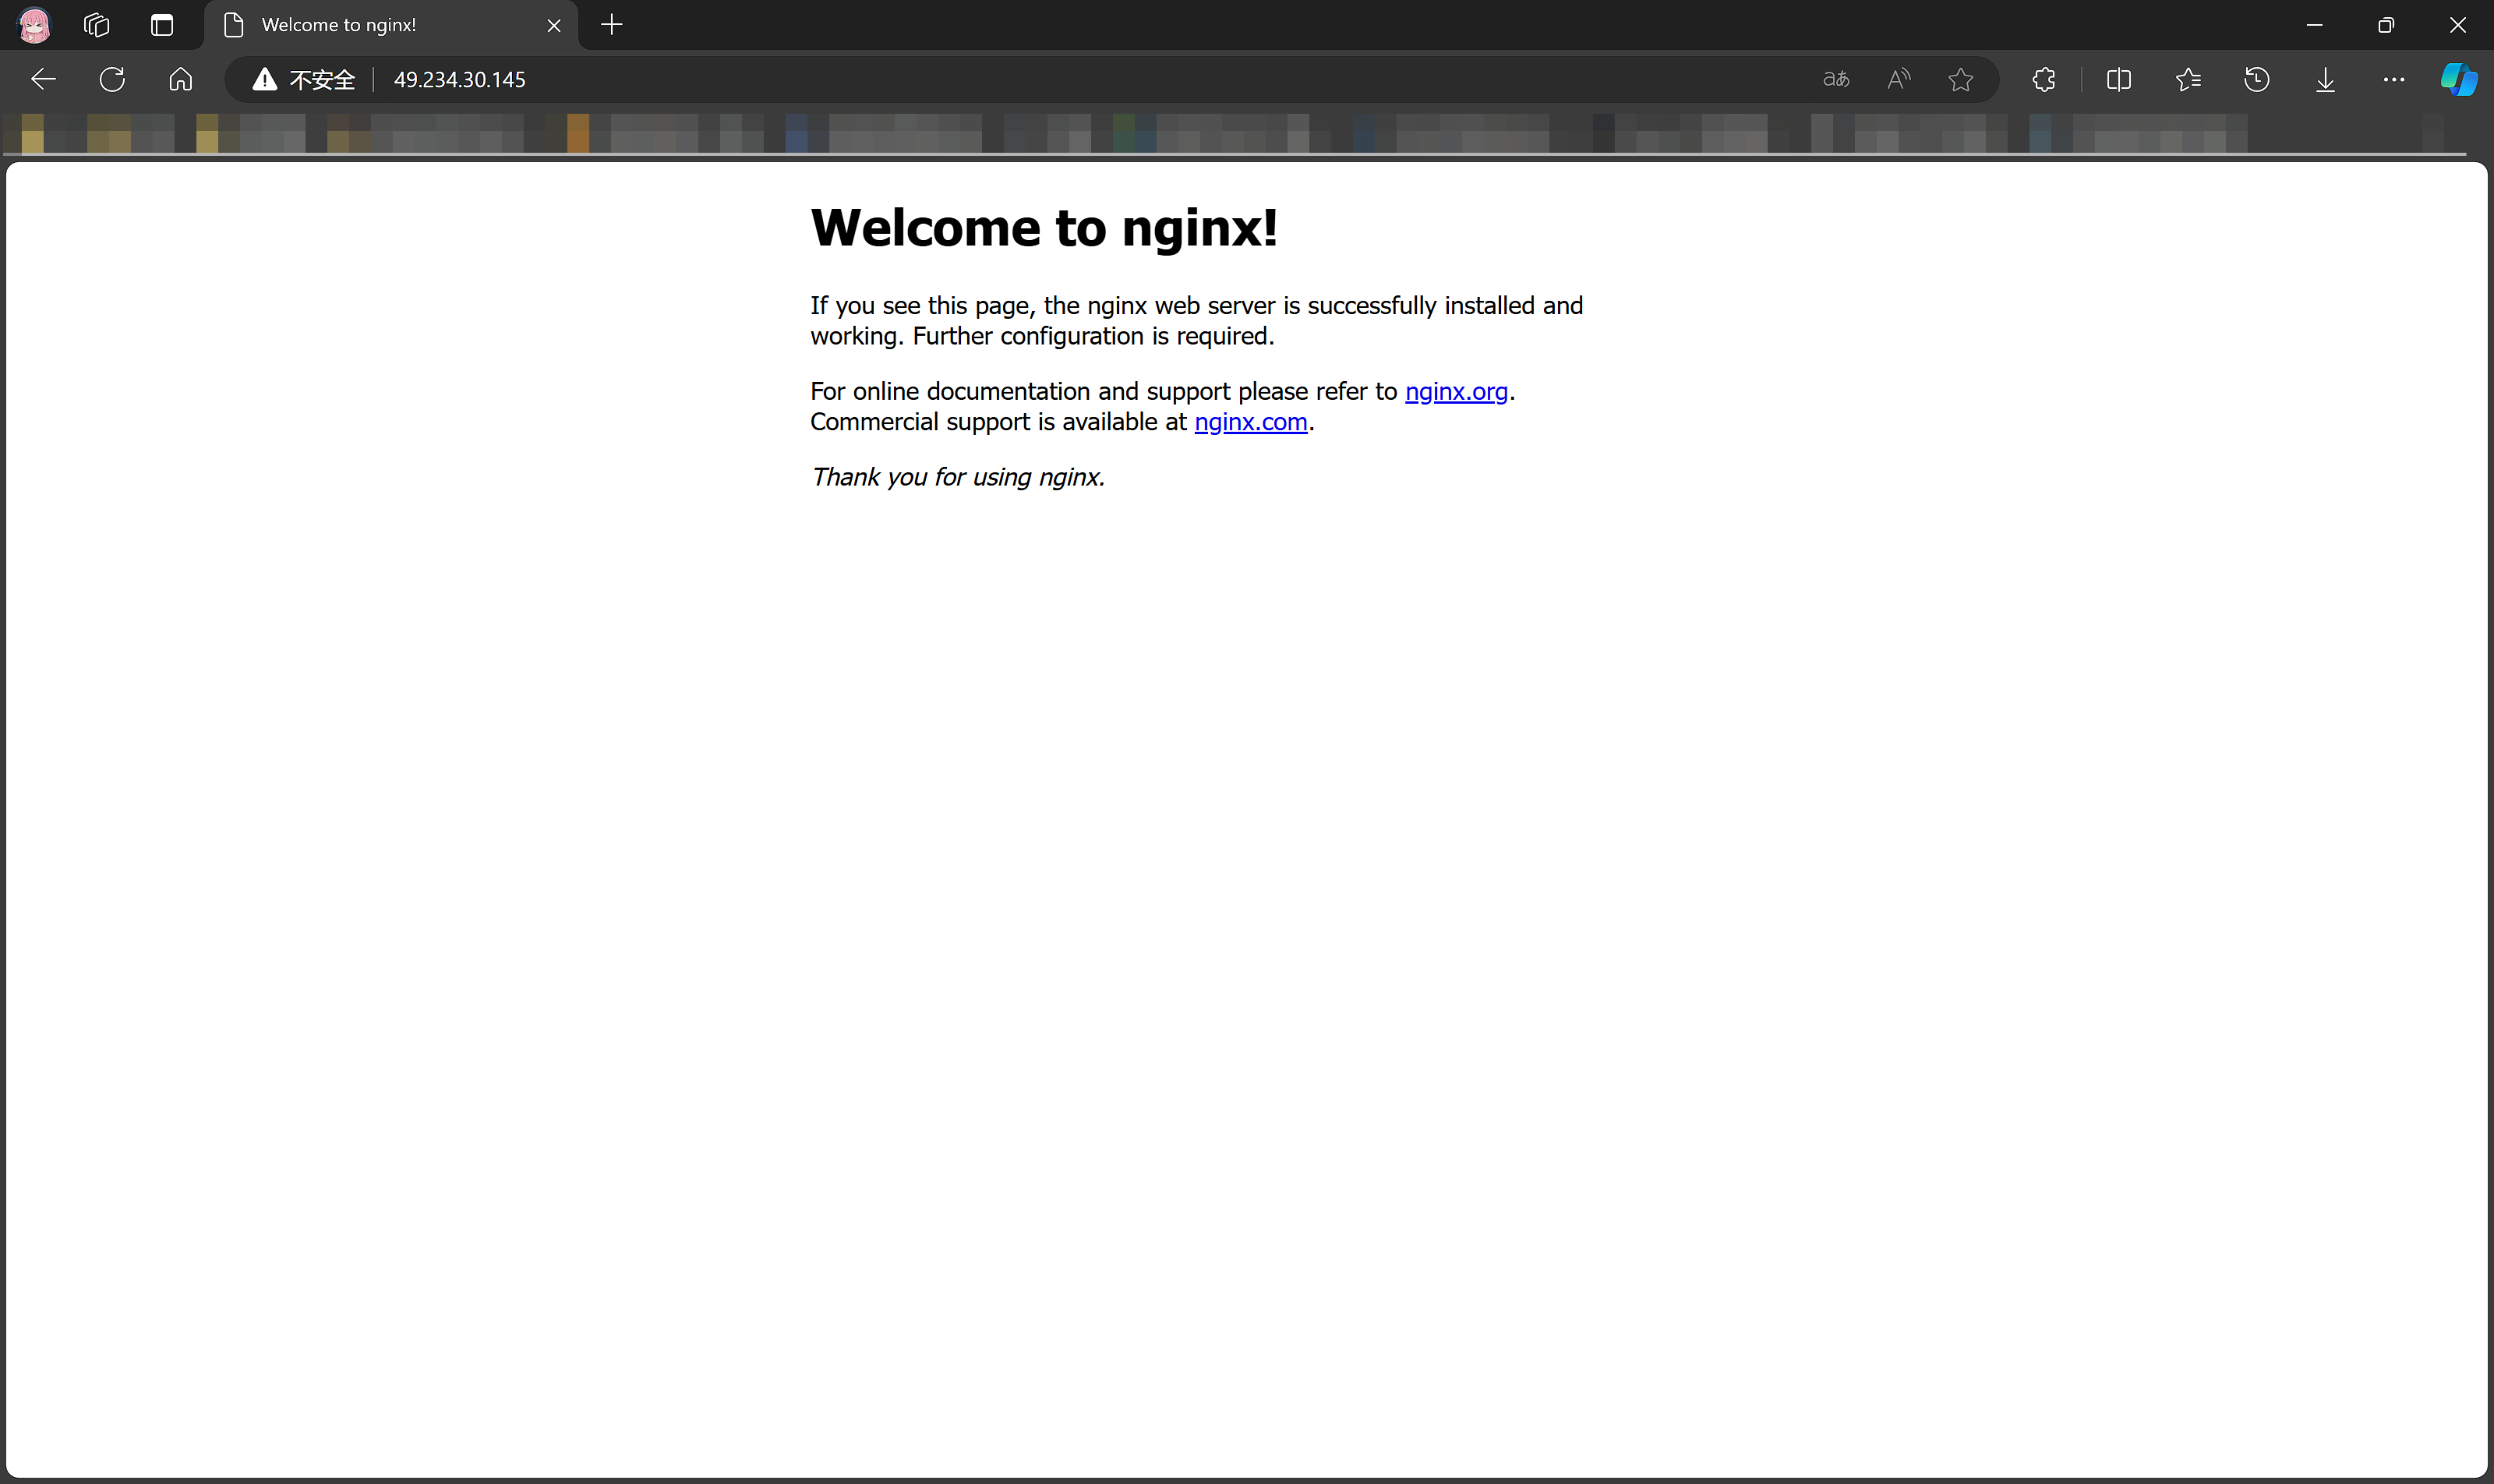
在浏览器输入 x.x.x.x,如果出现了以下页面,证明 nginx 启动成功

nginx 默认监听的就是 80 端口
配置 nginx 路由
代理到静态文件
以配置 Hexo 博客为例:
在有了博客的根目录后,需要将 nginx 服务器指向这个根目录地址,才能访问到博客页面,所以需要修改 nginx 的配置文件
/etc/nginx/ 目录中的 nginx.conf 就是默认配置文件
但不采用直接修改 nginx 配置文件的方式,而是新建一个文件夹,将自己的配置写在新建的文件夹中。再利用 include,在配置文件 nginx.conf 中将文件夹引入即可
这样若有新的需求时,只需在文件夹中添加新需求的配置文件,不需要每次都修改 nginx.conf,提高效率。
在 /etc/nginx 文件夹下新建一个 vhost 文件夹,这个文件夹中存放着每一条反向代理的配置
在 vhost 文件夹中新建 hexo.conf 并写入以下内容:
1 | server { |
这个配置的含义是,nginx 服务监听 4000 端口,x.x.x.x 为服务器公网 ip 地址,对所有 URL 路由均进行匹配。访问的方式为:x.x.x.x:4000
如果想要进行域名解析,可以再新建一个 .conf 文件,写入以下内容
1 | server { |
因为域名解析默认访问 80 端口,所以要监听 80 端口
如果使用 nginx 控制子域名的解析,需要在域名解析控制台使用通配符将所有的子域名解析到服务器的公网 ip 地址
接下来在 /etc/nginx/nginx.conf 中添加一行:
1 | include /etc/nginx/vhost/*.conf; |
这样就通过通配符的方式引入了 vhost 文件夹中的所有配置文件
还可以进行通配符匹配解析,将未进行解析的域名统一定向到一个 html 页面,比如个人主页
1 | server { |
代理到服务器端口
以配置 AList 域名访问为例
在 vhost 文件夹中新建 hexo.conf 并写入以下内容:
1 | server { |
其他配置只需要照葫芦画瓢,修改 server_name 和 proxy_pass
重启 nginx
首先使用 nginx -t 来检查配置文件是否有语法错误,然后使用 sudo systemctl restart nginx 重新启动 nginx,不出意外的话已经可以正常进行访问了
如果提示了 403 Forbidden,那么还需要再进行一步
解决 403 Forbidden
修改 /etc/nginx/nginx.conf 中的第一行 user 字段为:user ubuntu,其中 ubuntu 为 hexo 文件夹的拥有者,一步到位解决访问限制问题